Best ScreenShot Apps 2026
The best screenshot workflow in 2026 is not just about grabbing a rectangle on your screen. It is about capturing the right context, marking it up clearly, saving it safely, and sharing it with the right person in seconds. This guide compares practical screen capture tools for Windows, Mac, Linux, browser-based work, documentation, product demos, support, marketing, and developer workflows.
Which screenshot app is best for most people in 2026?
Most screenshot apps you can google are hopelessly outdated. They do not meet the requirements of the time. Five years ago, people sent annotated screenshots to each other. In 2026, people send annotated screenshots to their AI agents. That is a completely different workflow.
When you send screenshots to people and to agents, you must protect your data much more carefully than when you send them to colleagues. Colleagues already know that data. Agents must not learn passwords and other secrets.
The apps themselves are outdated, and the requirements for what a screenshot app should be are outdated too. Next we will look at the products on the market, how they differ, what they do well, and where they fall short.
- Snagit for polished professional documentation, scrolling screenshots, video capture, and step-by-step visuals.
- SeenShot for a fast, lightweight Mac screenshot workflow with free annotation, local saving, and one-click link sharing.
- ShareX for free, open-source Windows power users who want automation, uploads, and advanced capture options.
- CleanShot X for Mac users who want a premium, polished screenshot and screen recording experience.
- Shottr for Mac users who want a tiny, fast tool with scrolling screenshots, OCR, annotations, and attractive backgrounds.
- Flameshot for Linux-first users who want open-source screenshot annotation across Linux, Windows, and macOS.
- Lightshot for simple, free, fast screenshots on Windows, Mac, and browsers.
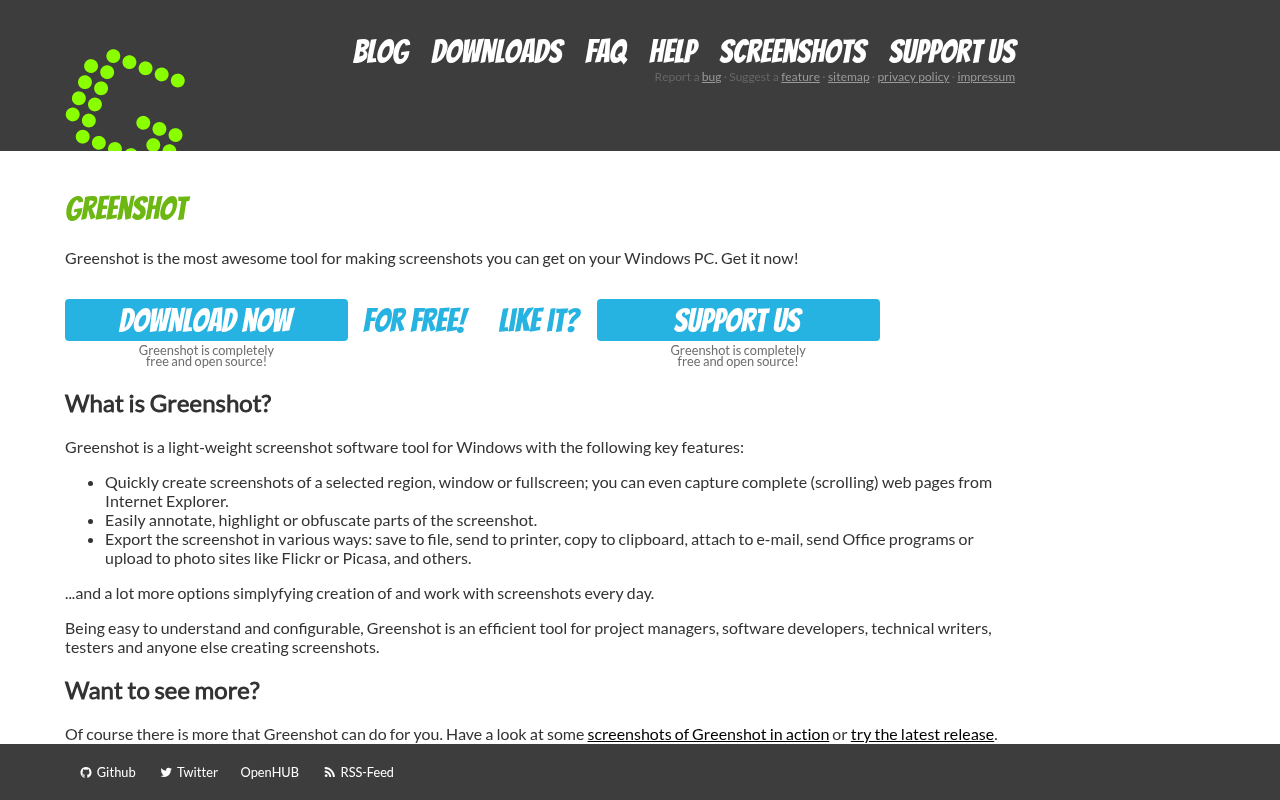
- Greenshot for straightforward office-style capture and export workflows.
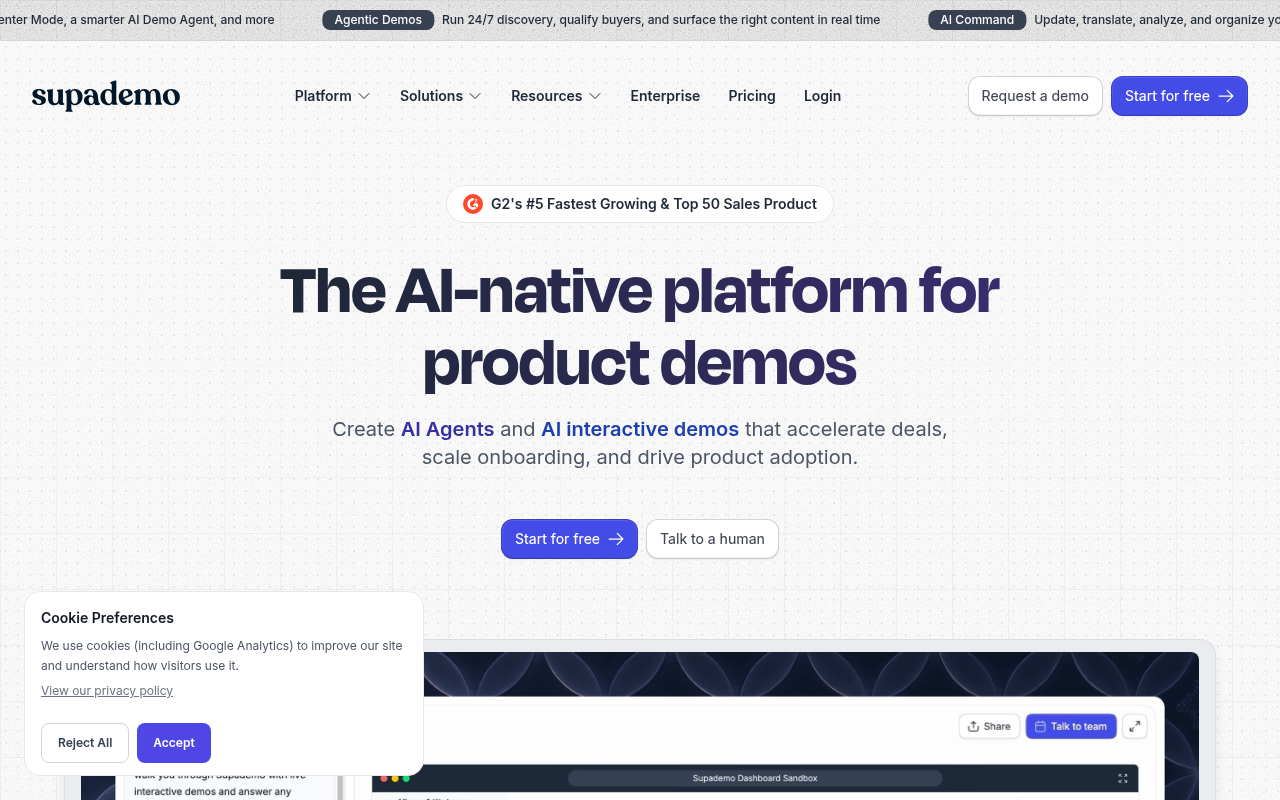
- Supademo for teams that turn screenshots and recordings into guided interactive demos.
- Awesome Screenshot for browser-heavy users who mainly capture and record inside Chrome-style workflows.
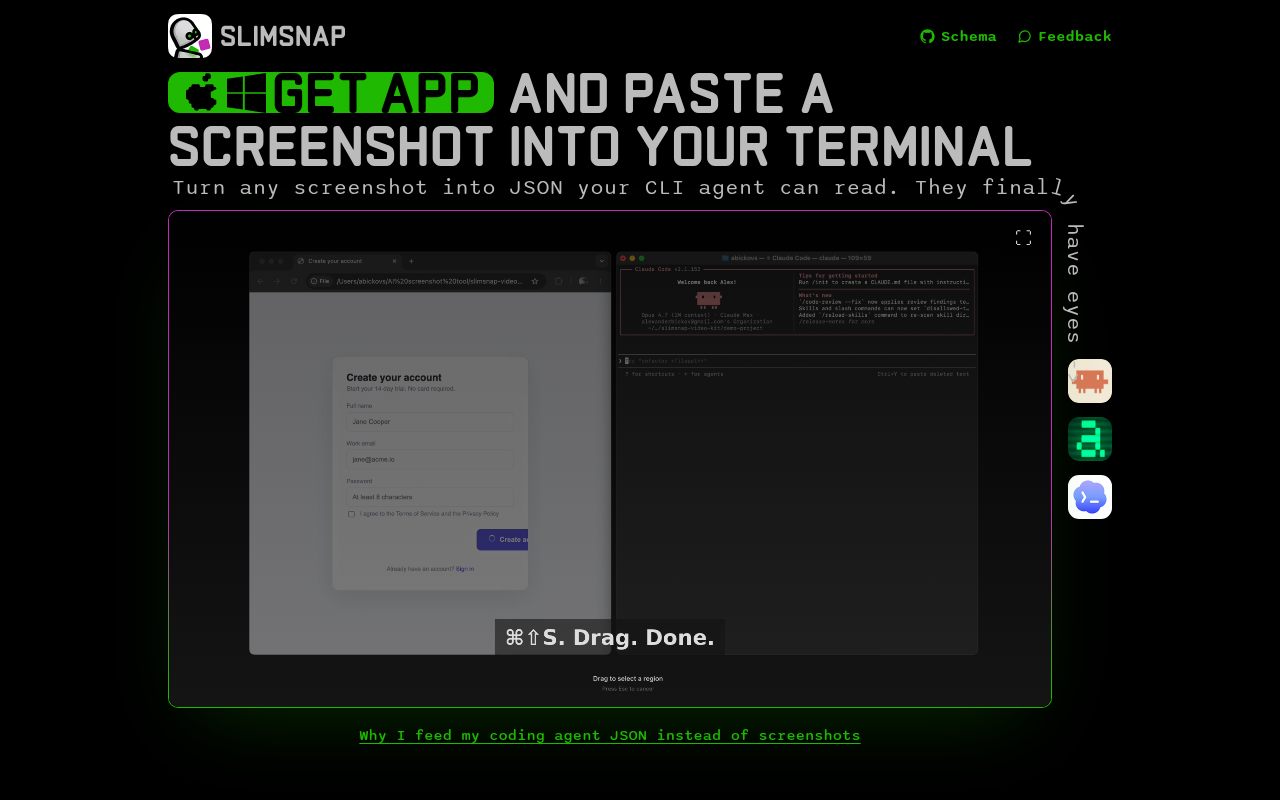
- SlimSnap for developers and AI-assisted coding workflows that need screenshot context converted into structured JSON.
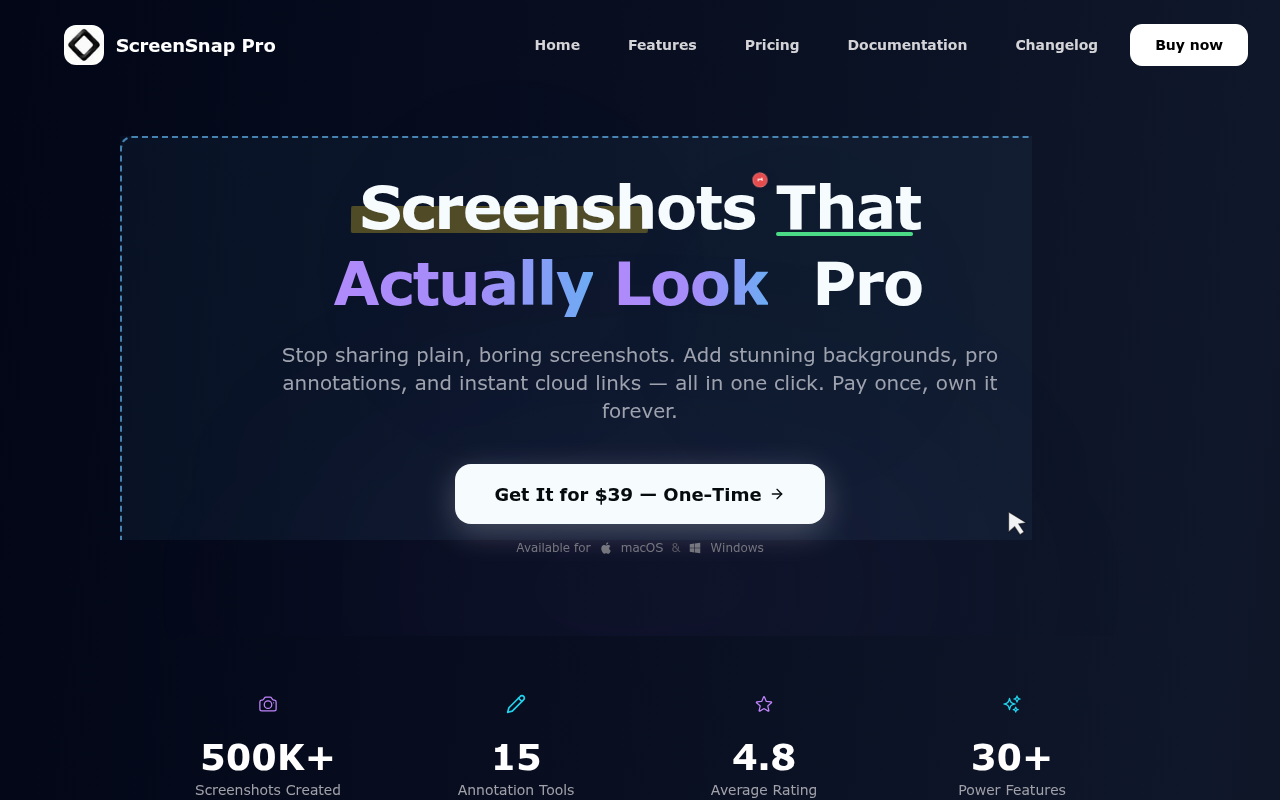
- ScreenSnap Pro for Mac and Windows users who want attractive captures, annotations, screen recording, and instant cloud links.
SeenShot is a strong lightweight pick for Mac users
SeenShot deserves a close look if you want a free, fast, lightweight screenshot app for Mac that is easy to use and quick to share from. It is available at https://seenshot.app/ and is currently available for Mac, with Windows and Linux versions being developed. Its biggest appeal is the combination of speed, low memory usage, instant operation, full annotation features, local saving, and share-via-link convenience.
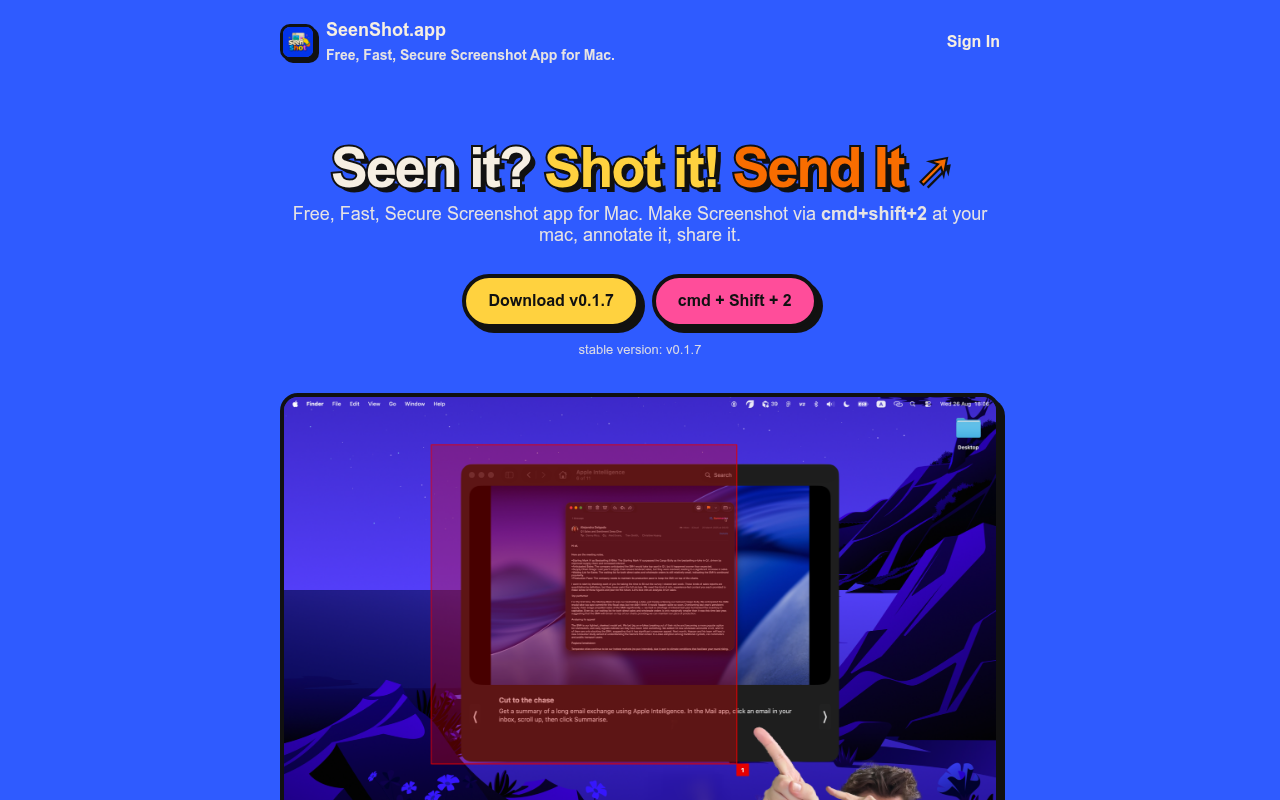
SeenShot is free, and its official site describes it as a free, fast, secure screenshot app for Mac. The app is designed to let you make a screenshot, annotate it, and share it, with a free plan that includes core capture, markup, local saving, and link sharing. (seenshot.app) That makes it especially useful for founders, product builders, support teams, educators, and anyone who wants a simple tool that still handles the visual details that make screenshots clearer.
SeenShot’s key features include:
- Path Screen Shot for capturing a selected path or area when you do not need the whole display.
- Full Screen Shot for capturing the entire screen quickly.
- Highlight zone to draw attention to a specific part of the image.
- Highlight steps for numbered callouts that explain a process in sequence.
- Arrow, Line, and Text for direct visual explanation.
- Blur zone for hiding private, sensitive, or irrelevant information before sharing.
- Auto Blur Sensitive data for faces, passwords, emails, and API keys, so you can share shots with AI agents without leaking secrets.
- Adding photos to screenshots, including a webcam-style photo in one click.
- Color picker for matching or selecting colors inside your screenshot workflow.
- Background options to place a cleaner visual frame behind the screenshot.
- Save locally when you want to keep the file on your machine.
- Share via link when you want to send the screenshot online.
- One-click screenshot sharing via link, which is ideal for fast feedback loops.
- One-click share to AI agents inserts a screenshot into 10+ AI agents so you do not spend time on that step.
Windows users have the widest range of choices
Windows remains one of the strongest platforms for screenshot tools because it has both a capable built-in utility and mature third-party apps. If you only need an occasional image, Snipping Tool is enough. If you capture screenshots for support tickets, software QA, documentation, marketing, or tutorials, a dedicated tool will usually save time.
ShareX is the power-user answer on Windows. It is free and open source, and its official site positions it as a screenshot tool with screen capture, screen recording, file sharing, and productivity features in one lightweight application. It can capture a full screen, region, active window, scrolling page, or monitor, then process the result through automated after-capture tasks. (getsharex.com) If you want hotkeys, automatic uploads, custom destinations, workflows, and control, ShareX is one of the best screen capture options available.
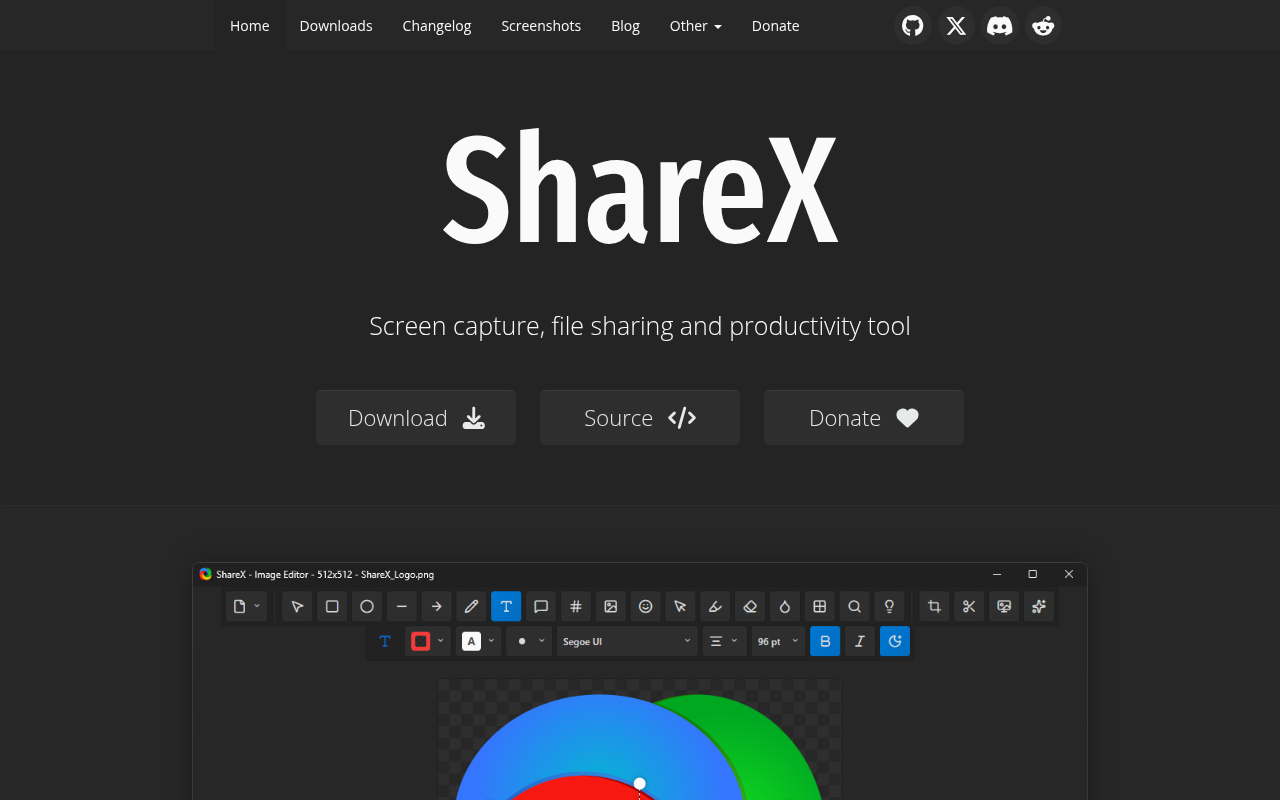
The trade-off is complexity. ShareX can do a lot, but new users may need time to configure upload destinations, hotkeys, after-capture tasks, file naming, and privacy settings. That is a fair price for power users, developers, and QA teams, but it may be more than a casual user wants.
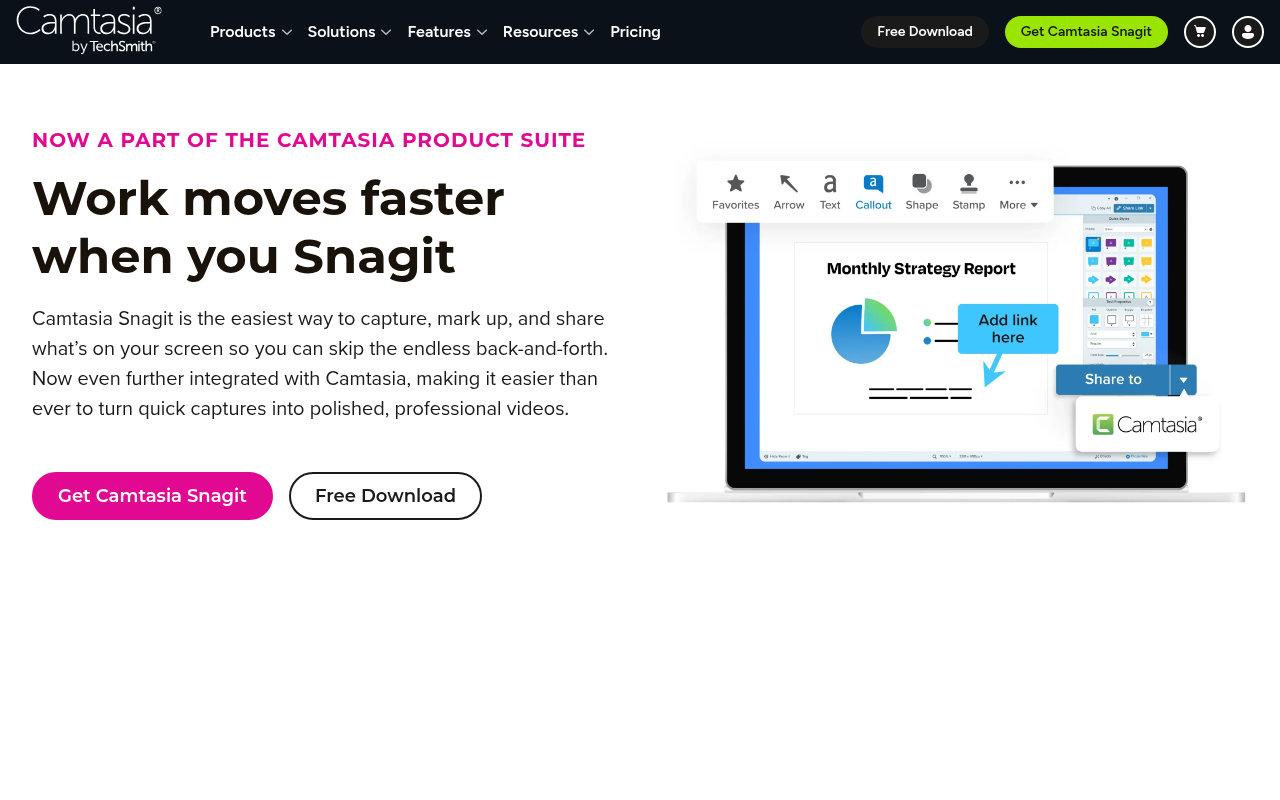
Snagit is the polished paid option for many Windows professionals. It combines screenshot capture, screen recording, annotation, sharing, and documentation-friendly features. TechSmith describes Snagit as a tool for capturing, marking up, and sharing screen content, including screenshots, short videos, and step-by-step guides. (techsmith.com) If your screenshots are client-facing or part of training material, Snagit’s polish can be worth paying for.
Mac screenshot tools are especially strong in 2026
Mac users have excellent options, from Apple’s built-in Screenshot app to polished third-party tools. Apple’s native screenshot workflow is fast and dependable for everyday captures. Apple Support notes that macOS Mojave 10.14 or later includes the Screenshot app for taking screenshots, which makes built-in capture easy to access without installing anything. (support.apple.com)
The limitation is that many Mac users eventually want more than the default tool provides. Product managers need arrows and blur. Designers want backgrounds and pixel-aware workflows. Support teams need fast sharing. Documentation teams need scrolling capture and step numbering. That is where Mac-focused tools stand out.
SeenShot is a strong free Mac choice when you want lightweight capture, fast annotation, local saving, and quick sharing. Its feature set covers the essentials that make screenshots useful: full-screen capture, path or area capture, highlights, numbered steps, arrows, lines, text, blur, photos, a color picker, and backgrounds. It is particularly appealing if you want one-click link sharing without a heavy interface.
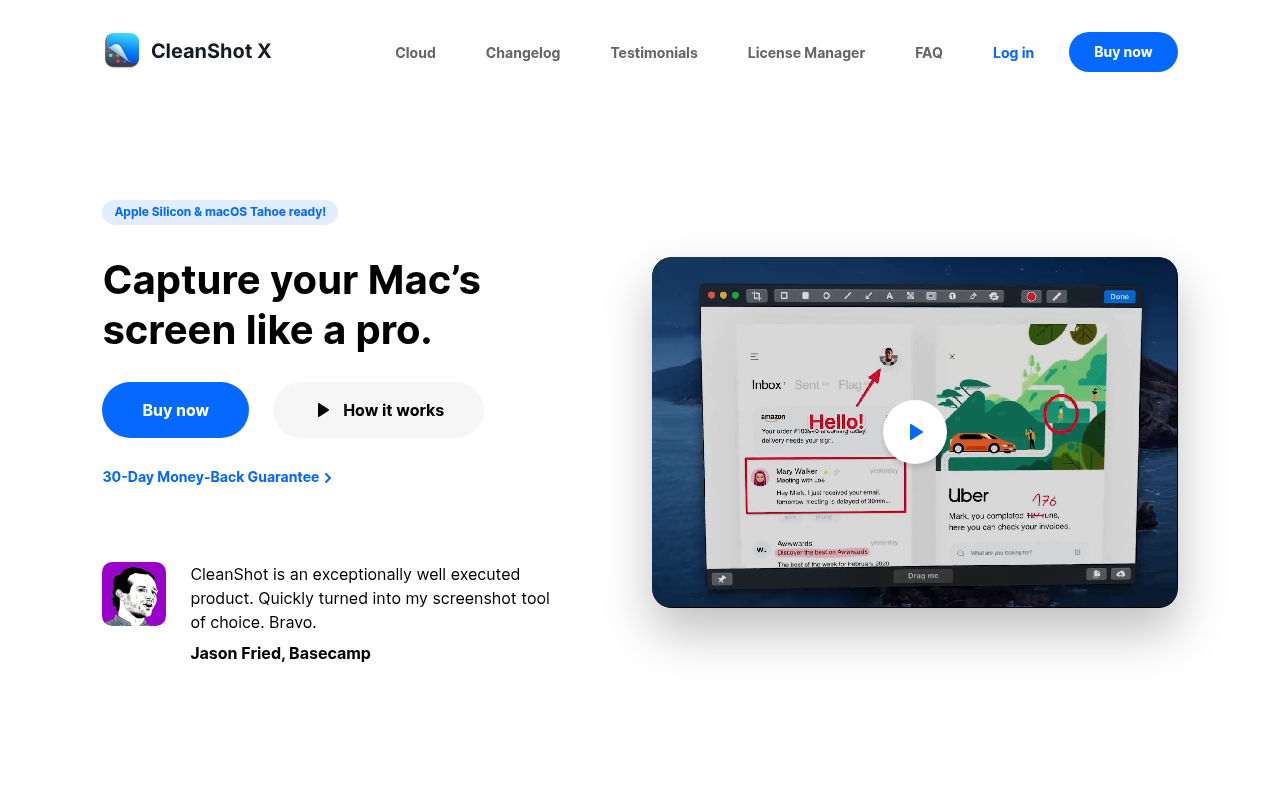
CleanShot X is one of the most polished Mac screenshot tools. It offers capture, annotation, screen recording, scrolling capture, and optional cloud workflows. The official CleanShot site describes it as a Mac screenshot, annotation, and video recording app with more than 50 features. (cleanshot.com) CleanShot X is a paid Mac app, with a one-time purchase listed from $29 for one Mac and one year of updates at the time of research. (cleanshot.com)
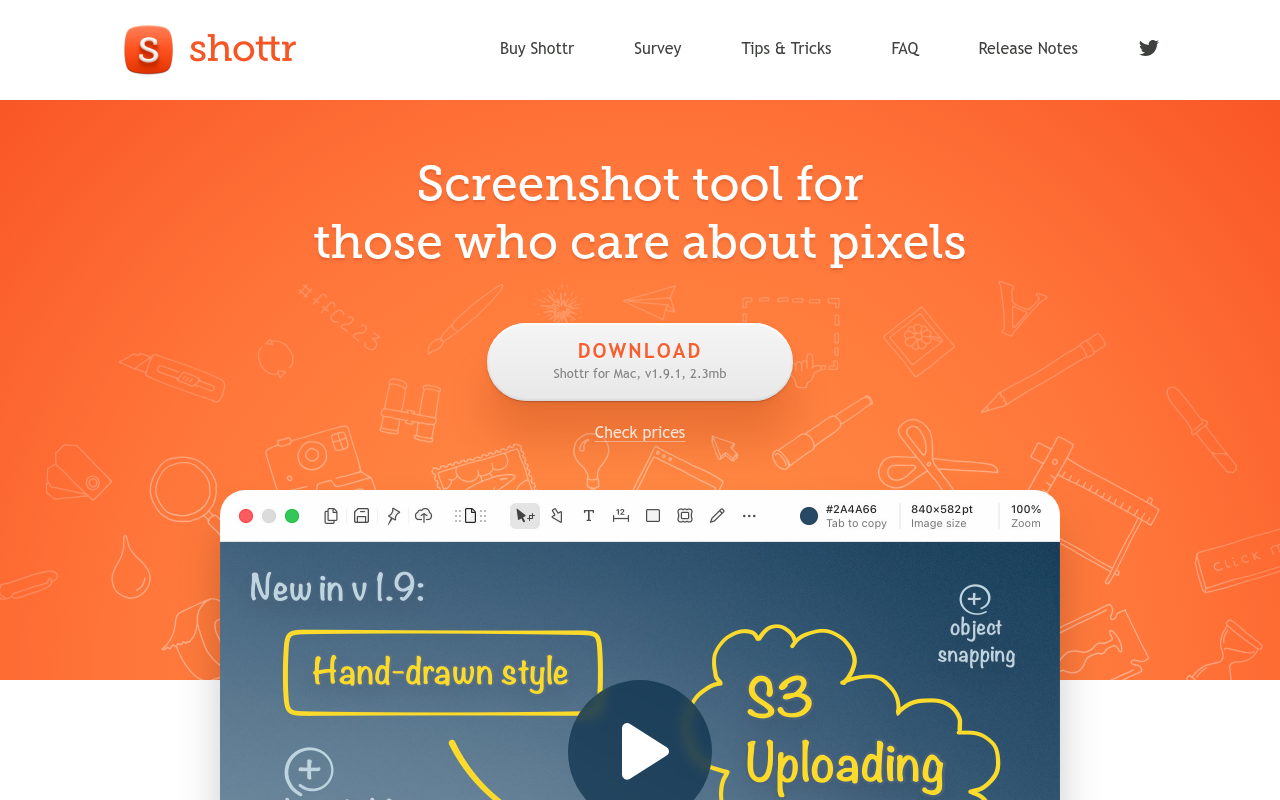
Shottr is another excellent Mac option, especially for users who care about speed. Its official site describes it as a tiny, fast Mac screenshot tool with annotations, backgrounds, scrolling screenshots, S3 upload capabilities, and OCR, with a small native app optimized for Apple Silicon. (shottr.cc) If you want a Mac-native feel and do not need a large team collaboration layer, Shottr is easy to recommend.
Snagit also works well for Mac users who need a professional documentation environment across Windows and macOS. It makes sense when you need one consistent capture and editing workflow across a mixed team, especially if training, support, and formal documentation are part of your daily work.
Linux and open-source users are not left out
Linux users often prioritize control, local workflows, and open-source software. The best screenshot apps 2026 list should not ignore that. Linux may not have the same commercial screenshot ecosystem as Mac, but it has practical, capable tools for developers, technical writers, and privacy-conscious users.
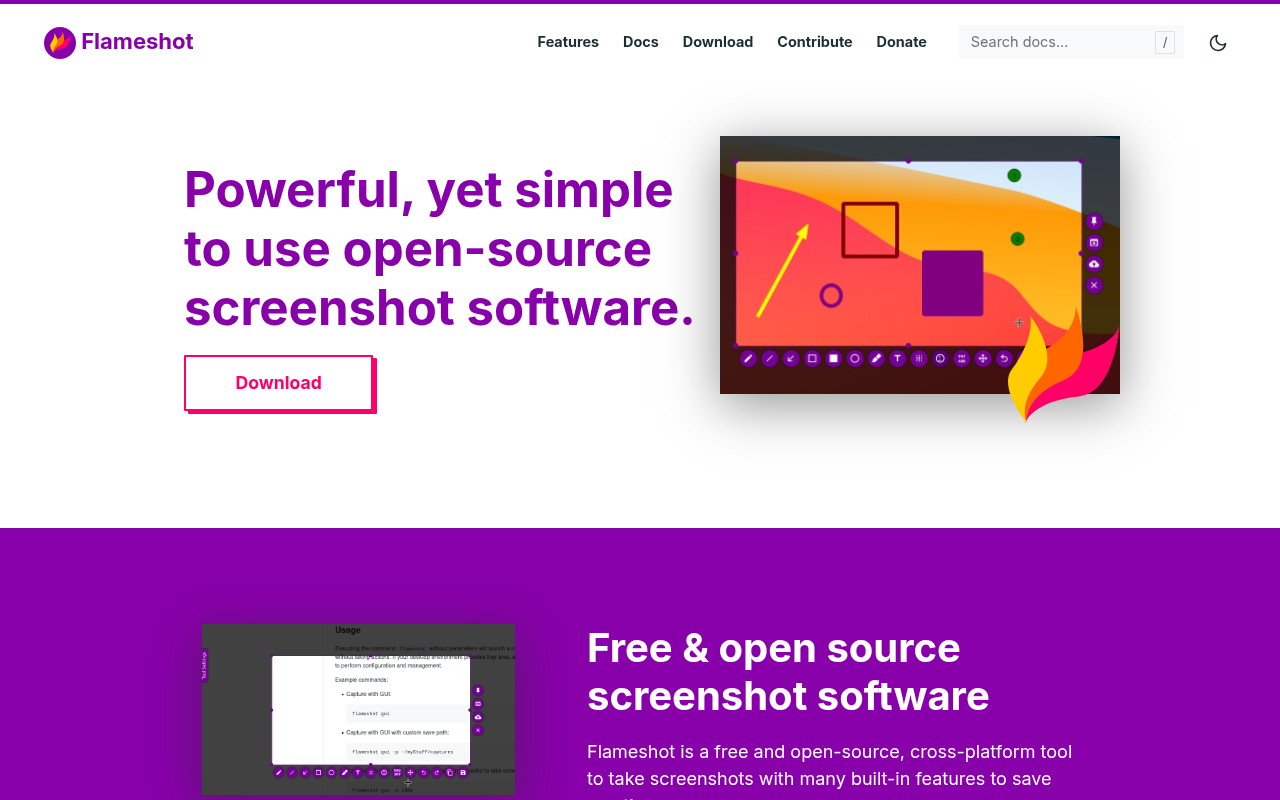
Flameshot is one of the clearest recommendations for Linux. Its official site describes it as powerful, simple-to-use, open-source screenshot software, with downloads for Linux, Windows, and macOS. (flameshot.org) It is especially useful if you want quick capture and annotation without relying on a cloud service. For teams that use Linux workstations, it provides a familiar visual markup workflow while staying lightweight.
ShareX is Windows-focused, so it is not the answer for most Linux desktops, but it is still relevant for mixed teams where Windows users want open-source automation. Flameshot fills more of the Linux desktop role, while browser tools can handle web-page screenshots across operating systems.
SeenShot is currently Mac-only, but Windows and Linux versions are in progress. That is worth watching because a fast, lightweight, annotation-first tool with one-click link sharing could fit many cross-platform teams if the future desktop versions keep the Mac app’s simplicity.
Free vs paid screenshot apps
Free screenshot apps are better than ever, but paid tools still make sense when screenshots are part of a business workflow. The real decision is not “free or paid?” It is “how much friction can I afford?”
Free tools are best when:
- You take screenshots occasionally.
- You mostly need region, window, or full-screen capture.
- You are comfortable using separate tools for storage or sharing.
- You prefer open-source software.
- You do not need team libraries, templates, or polished exports.
- You can tolerate a learning curve in exchange for flexibility.
Paid tools are best when:
- You create documentation, training, sales assets, or support content often.
- You need polished annotations and consistent visual style.
- You want scrolling capture, screen recording, cloud sharing, and history in one tool.
- Your team benefits from shared workspaces, folders, links, or collaboration.
- You value time saved more than the subscription or license cost.
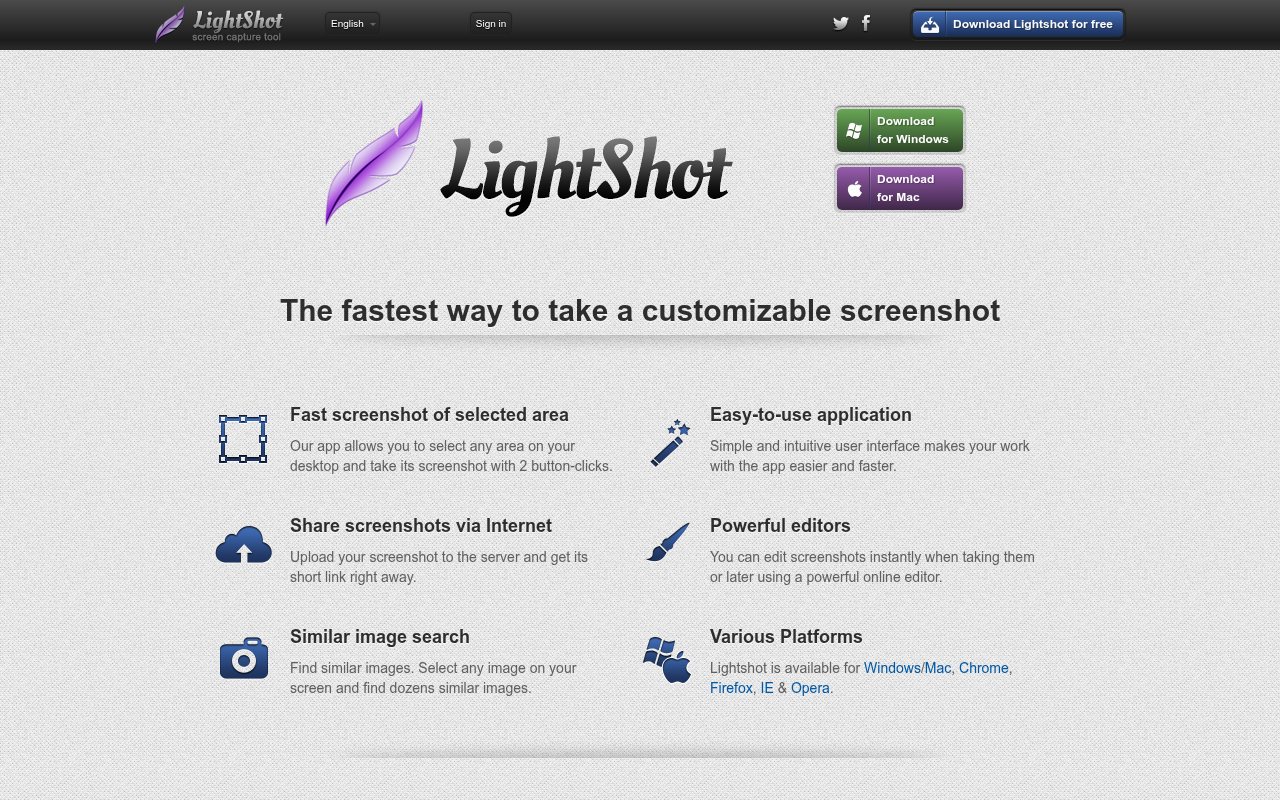
ShareX, Flameshot, Lightshot, SeenShot, and built-in operating system tools make free workflows very capable. Lightshot, for example, is free and available for Windows, Mac, Chrome, Firefox, Internet Explorer, and Opera, with quick selected-area capture, editing, and short-link sharing. (lightshot.app) Greenshot is another practical option. Its Windows version is free and open source, while the Mac download is listed separately through the App Store. (getgreenshot.org)
Paid or premium tools usually win when the screenshot is part of a repeatable business asset. Snagit, CleanShot X, Supademo, and ScreenSnap Pro give you more polished workflows for documentation, collaboration, recording, and sharing. ScreenSnap Pro, for example, offers Mac and Windows downloads and describes itself as a screenshot and screen recording app for developers, designers, and creators who want pro annotations and instant cloud links without recurring fees. (screensnap.pro)
Workflow recommendations by user type
The easiest way to choose among screen capture tools is to start with your role. A developer reporting UI bugs does not need the same tool as a marketer creating launch visuals. A teacher making quick instructions does not need the same workflow as a product team building onboarding demos.
Casual users
Start with your built-in tool. Windows Snipping Tool and macOS Screenshot are fast, reliable, and already installed. If you want quick sharing and light editing, try Lightshot or SeenShot on Mac. The goal is to avoid overbuying software for a simple use case.
Developers and QA testers
Choose tools that reduce explanation time. ShareX is excellent on Windows because of automation, scrolling capture, uploads, and customizable task chains. Flameshot is a strong Linux-friendly option for quick annotated bug reports. SlimSnap is worth exploring if you work with AI coding agents because it turns screenshots and annotations into structured JSON that tools can read as text. (slimsnap.ai)
Product managers and support teams
Prioritize clarity, blur, step numbering, and link sharing. SeenShot is useful on Mac because it combines fast capture with highlights, numbered steps, blur, photos, backgrounds, and link sharing. Snagit is a good fit when you need polished assets, reusable captures, and formal documentation. ScreenSnap Pro can also work well for creators and product teams on Mac and Windows.
Marketers, sales teams, and trainers
Look beyond static screenshots. Supademo turns screenshots, images, slides, Figma designs, and videos into guided interactive walkthroughs, which is valuable for onboarding, product tours, and sales enablement. (docs.supademo.com) Its pricing page lists a free plan and paid plans, including Scale from $38 per month when billed per creator at the time of research. (supademo.com) If your goal is to teach a process, an interactive demo may communicate better than a folder of PNG files.
Documentation teams
Choose consistency and reusability. Snagit, CleanShot X, Supademo, and ShareX can all support documentation, but in different ways. Snagit is polished and documentation-friendly. CleanShot X is excellent for Mac-first teams. ShareX is strong for technical teams that prefer configuration and automation. Supademo is best when documentation becomes interactive training.
Browser-based screenshot tools have a clear place
Browser screenshot tools are ideal when most of your work happens in web apps. They are convenient for capturing landing pages, SaaS dashboards, help center flows, forms, and web-based product experiences. They are less ideal when you need to capture desktop apps, system dialogs, or workflows that move across multiple non-browser windows.
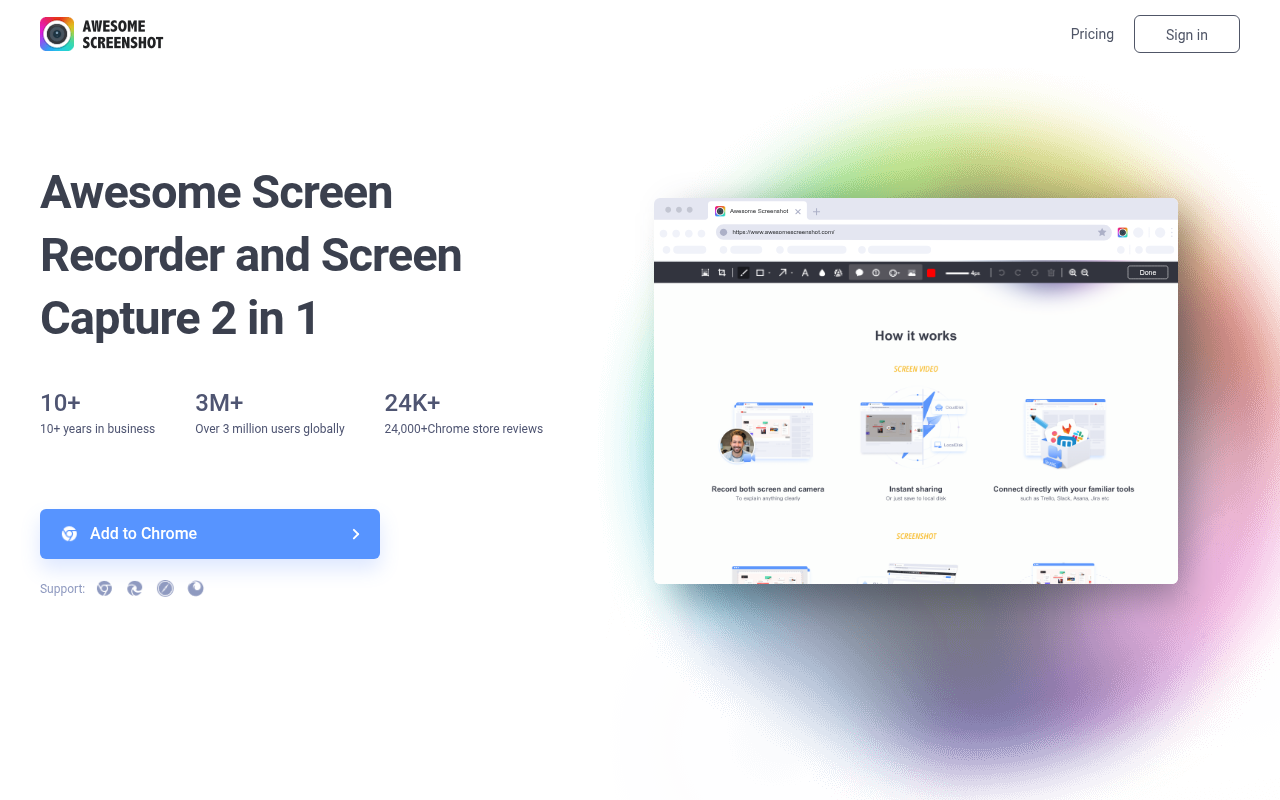
Awesome Screenshot is a good example of this category. Its pricing page positions the product around faster screenshots and recordings, with plans for screenshot and video workflows. (awesomescreenshot.com) Browser tools like this are especially useful for support, marketing, QA, and customer success teams who spend most of the day inside Chrome or another browser.
The trade-off is scope. A browser extension is convenient until you need to capture a native desktop app, a settings panel, a code editor, or a design tool outside the browser. If your work regularly crosses browser and desktop contexts, a desktop screenshot app will feel more dependable.
AI and automation are changing what “screenshot” means
In 2026, screenshots are increasingly becoming inputs to workflows, not just images saved on a desktop. OCR can extract text from an image. Automation can upload, rename, compress, or route files. AI coding tools can use screen context to understand bugs, layouts, and UI intent.
SlimSnap is a useful example of this shift. It is designed to capture and annotate screenshots, then copy them as JSON that can be pasted into tools such as Claude Code, Aider, Codex CLI, Cursor, and other text-based workflows. (slimsnap.ai) Its privacy page says it performs on-screen text reading with on-device OCR and does not transmit screenshots, extracted text, JSON output, or analytics to the company or third parties. (slimsnap.ai)
This matters because many AI and terminal workflows still handle text better than images. If a screenshot can become structured context, a developer can point at the broken UI state and give an agent more precise instructions. That does not replace traditional screen capture tools, but it expands what the best screen capture workflow can do.
Automation also matters for everyday teams. ShareX can run after-capture and after-upload tasks, which makes it practical for repetitive workflows. (getsharex.com) A support rep can capture, upload, copy a link, and paste it into a ticket. A QA tester can keep file names consistent. A technical writer can reduce the number of manual steps between capture and publication.
A practical checklist for choosing your screenshot app
Before you install five tools, define the job your screenshot app needs to do. The best app is rarely the one with the longest feature list. It is the one that fits your daily capture pattern with the least friction.
Use this checklist:
- Platform: Do you need Windows, Mac, Linux, browser-only, or cross-platform support?
- Capture modes: Do you need region, window, full screen, delayed capture, and scrolling capture?
- Annotation depth: Do you need arrows, text, blur, highlights, steps, backgrounds, or image overlays?
- Sharing: Do you need local saving only, one-click links, cloud upload, or team workspaces?
- Privacy: Will screenshots include customer data, internal dashboards, credentials, or personal information?
- Speed: Does the app open instantly and stay out of the way?
- Automation: Do you need hotkeys, upload rules, naming templates, OCR, API-style workflows, or AI-agent support?
- Polish: Are the screenshots internal notes, client-facing materials, or public marketing assets?
- Cost: Is a free tool enough, or will a paid tool save more time than it costs?
If you want the fastest path, choose by scenario. Use Snipping Tool or macOS Screenshot for quick personal captures. Use SeenShot on Mac when you want fast, free annotation and link sharing. Use ShareX for Windows automation. Use Flameshot for open-source Linux-friendly markup. Use Snagit for professional documentation. Use CleanShot X for polished Mac workflows. Use Supademo when static screenshots should become interactive demos.
Final takeaway
The best screenshot apps 2026 are not all trying to solve the same problem. Some are fast and minimal. Some are powerful and technical. Some are built for beautiful Mac workflows, while others are designed for Windows automation, Linux control, browser capture, AI-assisted development, or interactive product demos.
If you want a lightweight free Mac tool, SeenShot is a strong option because it works instantly, keeps memory usage low, supports full annotation, saves locally, and shares screenshots via link in one click. If you want Windows power, start with ShareX. If you want polished professional documentation, consider Snagit. If your work lives in product education and onboarding, look at Supademo.
The right choice is the one that makes visual communication feel effortless. When your screenshot tool captures the right context, protects sensitive details, highlights the next action, and shares cleanly, it stops being a utility and becomes part of how your team communicates.